When it breaks
Stick Drift: The Repair Order to Work Through Before Buying a New Controller
Five things to try, in order, before you spend money on a new pad.
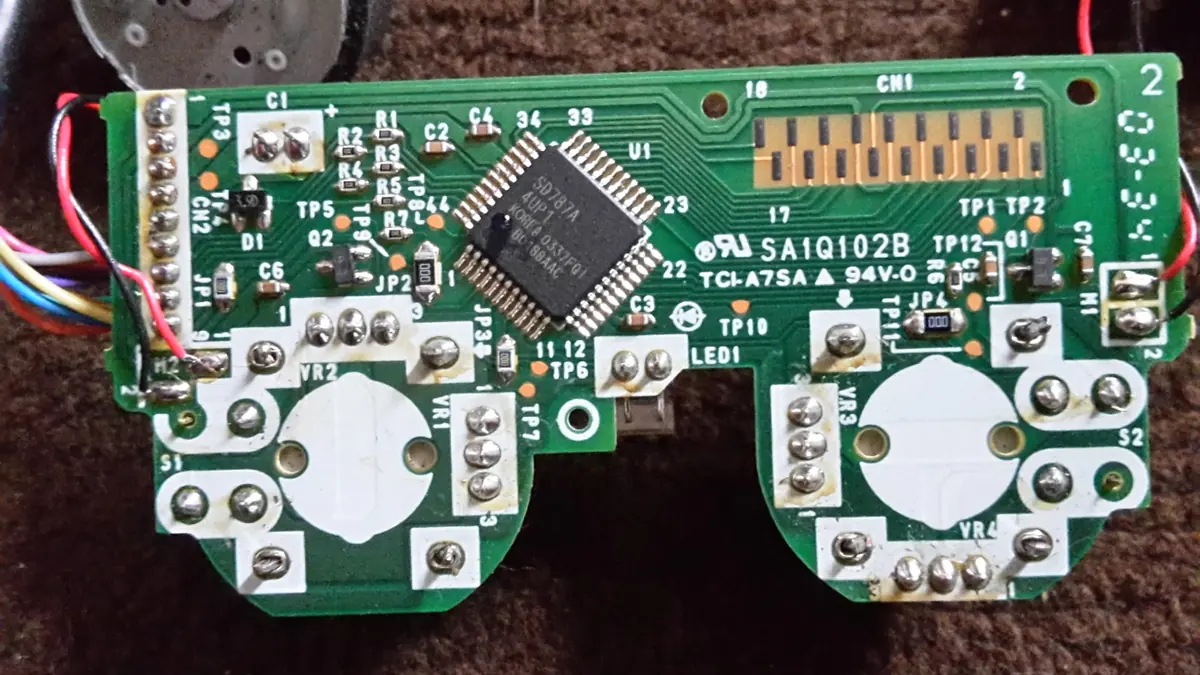
Photograph: Eoin Houston · CC BY-SA 4.0 · Wikimedia Commons
The takeawayYou know in what order to try things and at which point replacing is genuinely the cheaper answer.
When digital sticks in game controllers move your character onscreen even when the joystick is centered, everyone hits the web for a fix. The game isn't the culprit - the controller sees the stick out of place - and the repairs take you up a ladder of increasing effort, until you reach the only permanent solution: new hardware.
Software Tools and Recalibration
Stick drift has two causes. One is miscalibration: the controller's idea of where centre is has drifted, so a stick that is physically at rest reports a small push.
The other cause is steady drift in actual hardware readout. This is wear: dust and contamination around the stick base, and abrasion inside the mechanism, make the controller report a non-zero reading while the stick is physically centred.
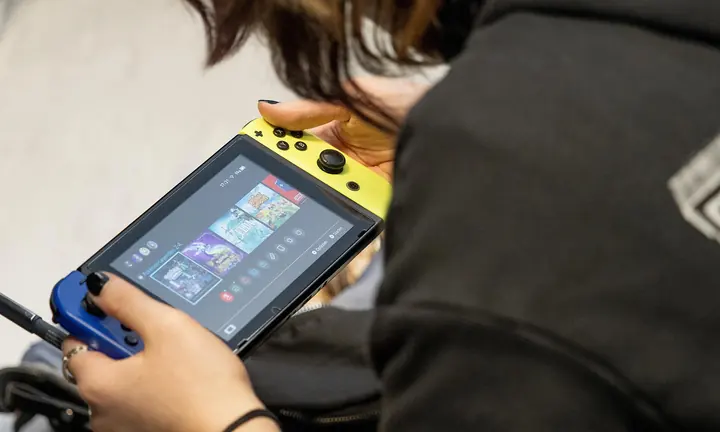
Start with the easiest fixes in software, before you clean or replace hardware. Recalibration redefines the central position - the neutral point. Calibration lives at platform level rather than in the game: Nintendo Switch has a screen for it, Steam Input on PC exposes dead-zone sliders, and Xbox recalibrates through the Xbox Accessories app.
Most guides tell you to widen the dead zone until the drift stops, but there's a risk. Setting a wide dead zone on a stick that never returns to centre also throws away every small deliberate movement you make. Recalibrate first, then test again. If drift survives that, widen the dead zone in small increments and stop at the first setting where the drift disappears - anything beyond that is throwing away precision you paid for. If the drift persists with zero added dead zone, something is actually broken. Calibration can only move where the software thinks centre is; it cannot repair the part reporting the wrong position.
The repair guides all have the same recalibration advice: firmware first, recalibrate next, and then clean hardware. PS5 shows the game-wide flow: to recalibrate in DualSense, hold the controller still, move each stick to its full range, and recalibrate. Then test it: leave the sticks alone and watch whether the on-screen input stays at rest. If it does not, software is not going to be enough.
Cleaning as the Next Test
After you know the drift is real, and removing a software dead-zone still sees it, you move to the most likely culprit: contamination. The problem is particles or liquid from user’s hands or the environment contaminating the gamepad’s analog stick area, especially the potentiometer that turns user input to an analogue signal.
The repair recipe is simple, but not always a cure. Use compressed air and a small amount of isopropyl alcohol to clear away any particles around the stick base. Some sources show a disassembly to clean inside the controller, but that's an optional step. Cleaning is worth doing before anything is opened up, but one pass of canned air is rarely the whole answer, and drift often survives the first attempt.
When the Stick is Worn Out
After cleaning makes no dent in the problem, the most accurate explanation is wear and tear on the controller stick, not contamination from user abuse. One documented repair sequence says to update firmware, recalibrate, widen the dead zone, clean around the stick base, and finally replace the stick module if the reading stays non-zero. Only then reach for a replacement.
The damage resists cleaners because what is actually broken lies inside the controller, not just on its surface. More specifically, the internal mechanism relies on a potentiometer: wear occurs in the potentiometer as dust affects the contact wiper.
Repair guides show the part clearly enough, though none of them cite a manufacturer datasheet for the wear mechanism itself.
Why the Problem Shows Up in One Game Only
Drift can seem to come and go between games for two reasons that have nothing to do with the hardware: games treat the same reading differently, and some of them let you change that treatment.
Drift can appear in one game and disappear in another because the problem is at the controller level, sending a reality-distorted signal to the game. In game A, the drifted reading is inside the software-defined dead zone, so game A ignores it. Game B has a more sensitive dead-zone setting, so game B thinks the character is moving from it.
Meanwhile, some games expose their own dead-zone sliders or similar threshold settings. Raising that slider until the drift stops will make one game playable again, but it changes nothing anywhere else: you have widened the ignored zone in that title only, and the controller still reports the same wrong value.
Warranty and the Cheap Answer
Warranty rarely helps by the time drift appears. The timing is against you - sticks usually start drifting after a year or two of use - and cover is limited to the warranty window and excludes damage the owner caused.
Warranty windows on controllers are often measured in months rather than years, and drift usually arrives after they close.
What to Buy, and When
So the ladder is: recalibrate, adjust the dead zone, clean around the stick base, replace the stick module, replace the controller. Each rung is cheaper than the one above it, and each one tells you something: if recalibration and cleaning both fail, the reading itself is wrong and no setting will fix it.
The point at which replacing becomes the cheaper answer is easy to recognise: the reading is non-zero with no dead zone applied, and it stays non-zero after cleaning. A stick module costs a fraction of a controller, so it is worth attempting first if you are willing to open the case; if you are not, that is the moment to buy.